The title of this post should actually be “The Best Way to Make Hash Browns EVER!” because that’s how good these are. If you haven’t tried making hash browns in a waffle iron before, you are missing out.
A couple of months ago, I came across a short video online that showed a guy making hash browns in a waffle iron. It looked so easy, and the hash browns turned out so crispy. Plus, you don’t have to worry about flipping them because the waffle iron cooks both sides at the same time! The outside is crispy, while the inside is nice and tender. Golden hash brown perfection.
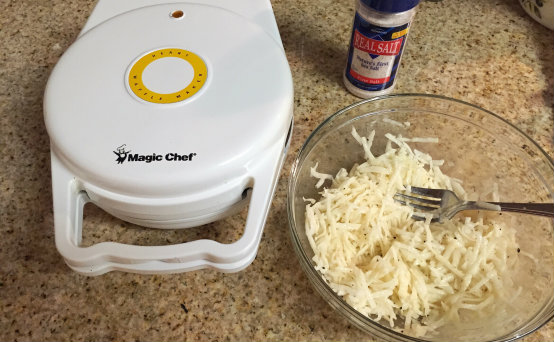
The first time I made these, I had to get a step ladder to get my waffle iron off the top shelf of my pantry. Let’s just say, it had been a while since it had seen any use. My aunt gave me this heart-shaped waffle iron several years ago. It makes super cute heart shaped waffles, so I’ve used it for making a special Valentine’s Day breakfasts in the past. I’m so glad that I discovered a new use for this little kitchen tool!
One very important step to remember is that after you shred your potatoes, you will need to wring out all of the moisture in the potatoes. You can place them in a dish towel or paper towels to do this. This step is key in helping the potatoes to get nice and crispy.
Be sure to preheat your waffle iron prior to adding the potatoes. Mine doesn’t have any controls on it, so I just plug mine in to turn it on. I saw another recipe online that said if your iron does have controls to set it on medium. I’m not going to include a cooking time on this recipe because I think the time will vary based on your waffle iron. Just keep an eye on it and remove when it’s nice and golden brown.
You’ll need to melt some butter in a bowl, then toss the shredded potatoes in the butter until all of the potatoes are well coated.
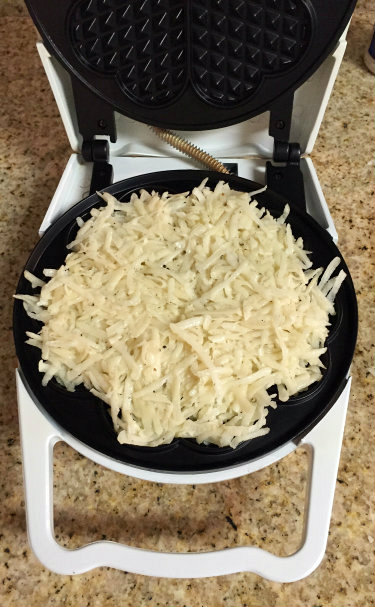
Then, spread them onto the waffle iron and close the lid. You can gently press down on them a little bit to help them compress them together a bit better.
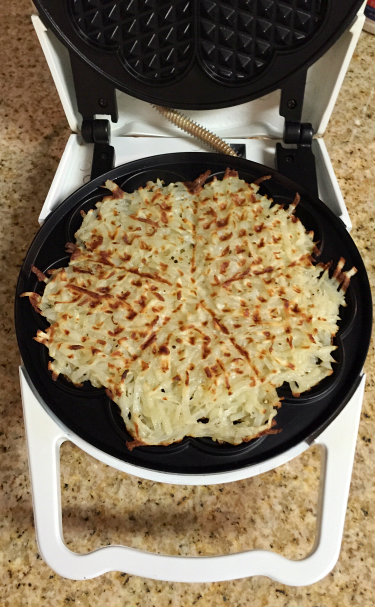
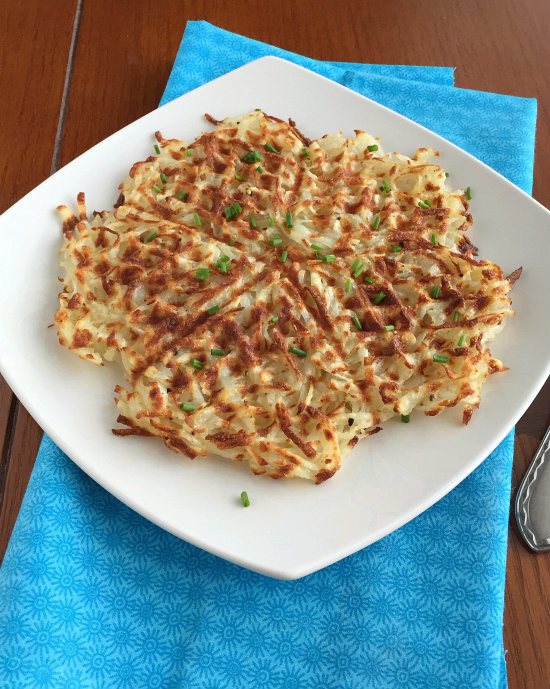
Mine browned more evenly on the bottom than the top this time around, but that’s okay.
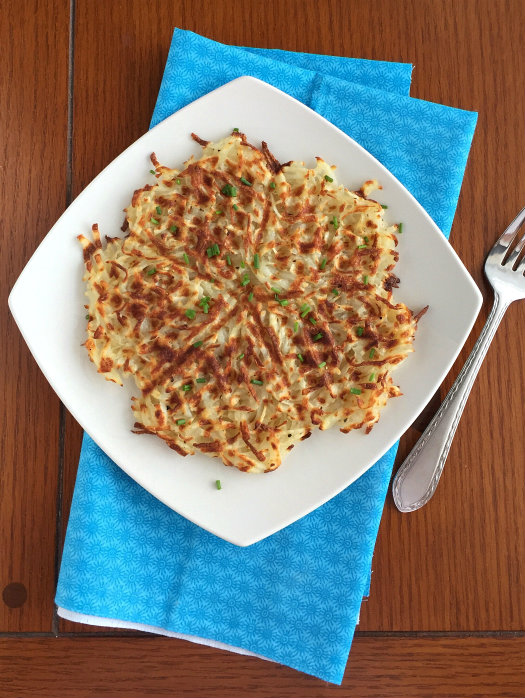
If you want perfect hash browns every time, then try these Waffle-Iron Hash Browns! The chives are optional, but the hint of oniony flavor goes so well with potatoes, that I think it’s a must. You could also serve these with a dollup of sour cream. I didn’t happen to have any on hand today, so I served them without it. This makes enough for two, but I think I could have eaten the whole thing myself. 🙂
*My waffle iron has a non-stick surface. I haven’t had any trouble with these sticking, so I don’t brush any extra butter on the waffle iron itself. If yours isn’t non-stick, you will probably want to brush some melted butter onto your waffle iron prior to adding the potatoes.

Waffle-Iron Hash Browns
Ingredients
- 1 tbsp butter , melted
- 1 medium russet potato , peeled and coarsely shredded
- 1/4 tsp sea salt
- black pepper
- fresh chives , finely chopped
- Optional toppings:
- sour cream
- ketchup
Instructions
- Preheat waffle iron. If your waffle iron has controls, then preheat on medium. Shred the potato, then place in either a dish towel or paper towels and squeeze all of the moisture out of the potatoes.
- Melt the butter in a medium sized bowl in the microwave (or in a small sauce pan on the stovetop). Mix the butter, potatoes, sea salt and pepper together until the potatoes are all coated in butter. Spread the potatoes onto your preheated waffle iron and close the lid. Press down gently to help compress them together. Let cook until golden brown. You can check on them after they have been cooking for a few minutes to gauge their progress. Top with chopped chives and serve.
Notes
Leave a Reply